I know how it feels when you’re all set to get your level on, but that trusty tripod is nowhere to be found. Don’t even trip, man! I gotchu covered.
In this guide, I’ll let you in on some seriously clever ways to set up your laser level without that three-legged sidekick. We’re talking about repurposing everyday items and tapping into the level’s own built-in features. Trust me; you’ll be amazed at how easy it is to MacGyver your way to perfectly aligned walls, shelves, and anything else that needs leveling.

What can Be Used to Laser Level without a Tripod?
You don’t always need a tripod for operating a laser level. There are several clever alternatives that can work just as well, if not better, depending on your specific needs and the job at hand.
Stick or Pole
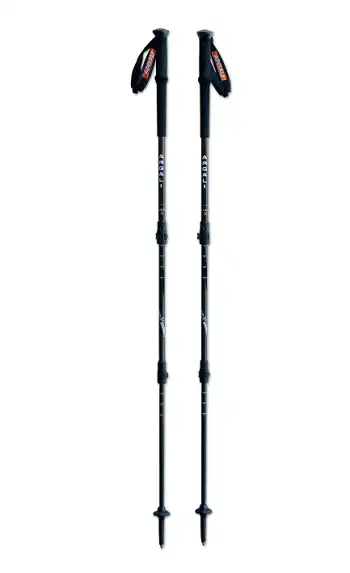
One of the simplest solutions is to use a sturdy stick or pole as a makeshift tripod. Look for a straight piece of wood or metal that’s tall enough to position the laser at your desired height. The great thing about this method is that you can easily adjust the height by sliding the level up or down the pole.
To secure the laser in place, you can use a clamp, heavy-duty tape, or even zip ties. Just be sure to attach it tightly so it doesn’t slide or wobble during use. For extra stability, you can wedge the bottom of the pole into a corner or use a weight to keep it from tipping over.
Mounting Base and Magnet
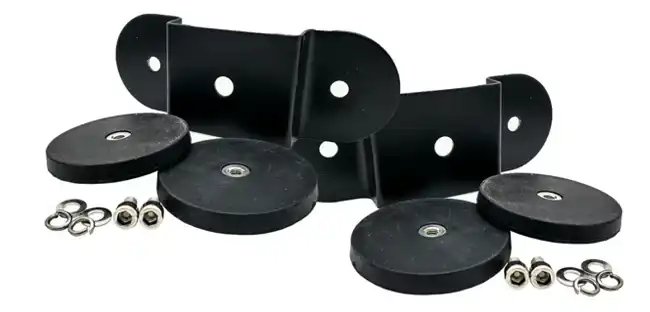
Many laser levels come with a mounting base that has a strong built-in magnet. This nifty feature allows you to stick the level directly onto any metal surface like a steel beam, pipe, or even a toolbox. The magnetic grip is usually strong enough to hold the laser securely in place, even at awkward angles.
Not only is this method incredibly quick and easy to set up, but it also gives you the freedom to position the laser precisely where you need it without any extra stands or clamps. Just be mindful of placing it on a stable surface that won’t vibrate or shift during your project.
Reflective Surface

Did you know that you don’t even need to mount the laser level directly? If you have a flat, reflective surface nearby, like a mirror or window, you can simply position the level to project its laser beam onto that surface. The laser line will bounce off the reflective material, allowing you to see it clearly and use it as a reference for your measurements or alignment. You can also use reflective tape as well!
This technique is particularly handy when working in tight spaces or areas where it’s difficult to set up a tripod or other support. Just be sure to angle the laser appropriately so that the reflected line falls where you need it, and be mindful of any obstructions that could block the beam.
Clamping to a Surface

Many laser levels are designed with integrated clamping mechanisms that allow you to securely attach them to a variety of surfaces temporarily. These clamps can grip onto ledges, shelves, or even the steps of a ladder, providing a stable platform for your laser.
Clamping is a great option when you need to position the laser at a specific height or angle, and it offers the added benefit of keeping your hands free to work. Just be sure to tighten the clamps firmly and periodically check that the level hasn’t shifted during use.
Hanging Hooks
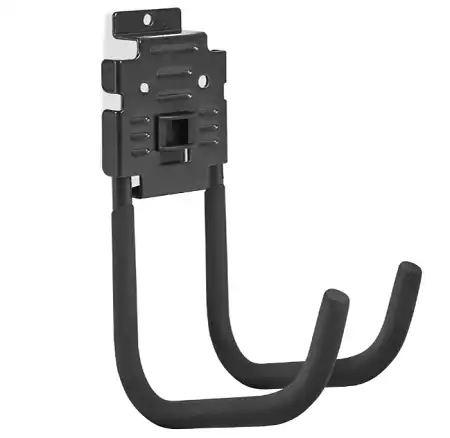
Some laser level models come equipped with hanging hooks or keyholes on the back or bottom of the device. These handy features allow you to suspend the level from a nail, screw, or hook that’s protruding from a wall, ceiling, or other surface.
This method is particularly useful when working overhead or in areas where you need to keep the floor clear. Just be sure to use a sturdy hook or nail that can support the weight of the laser without bending or pulling loose.
Double-Sided Tape
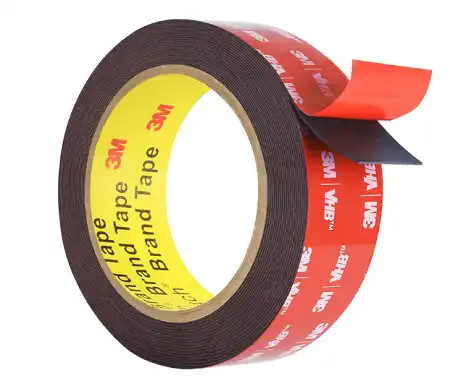
In a pinch, you can use heavy-duty double-sided tape to temporarily stick your laser level directly onto any clean, flat surface. This could be a wall, countertop, or even the floor, depending on your needs.
The key to success with this method is using a high-quality tape that’s designed for heavy-duty applications. You’ll also want to make sure the surface is clean and free of any debris or dust that could prevent the tape from adhering properly.
While not the most elegant solution, double-sided tape can be a lifesaver when you’re in a bind and need to get your laser level mounted quickly and securely. Just be sure to remove it carefully when you’re done to avoid damaging the surface or the level itself.
Steps for Using Laser Level without Tripod
Now that you know some of the creative ways to set up your laser level without a tripod, here are a few quick pointers for using it effectively:
Using a Stick or Pole
- Find a sturdy stick or pole that reaches your desired leveling height. Clamps or brackets are essential for securing the laser level to the pole.
- Attach the laser level to the pole using the clamps or brackets. Ensure it’s positioned straight and firmly attached. Tighten the clamps securely to avoid any wobbling.
- Here’s where creativity comes in! You can hold the stick upright on the ground for vertical leveling, wedge it between sturdy objects for stability, or rest it on a flat surface for horizontal leveling. Remember, the base of the stick needs to be stable to avoid tipping.
If your laser level doesn’t have self-leveling functionality, use a traditional level placed on the top of the stick to ensure the laser beam is perfectly horizontal or vertical.
Using a Mounting Base and Magnet
- If your laser level is blessed with a magnetic base, you’re in luck! Skip to step 3. Otherwise, you’ll need to acquire a strong magnet.
- Secure a strong magnet to the back of the laser level using strong adhesive tape or a suitable holster (if available).
- Locate a flat, stable metal surface like a metal stud, refrigerator side, or toolbox.
- Place the magnet on the metal surface, ensuring the laser beam points in the desired direction. The magnetic force will hold the laser level steady.
Pro Tip: Not all surfaces are magnet-friendly. Test the magnet’s holding power on a small, inconspicuous area before trusting it with your precious laser level.
Reflective Surface
This technique is perfect for transferring a level line across long distances. Here’s how it works:
- Strategic Mirror Placement: Position a mirror strategically at the endpoint where you want to extend the laser line.
- Reflecting Light: By carefully adjusting the mirror’s angle, the reflected beam will bounce back, essentially extending your laser line. This is a fantastic trick for long hallways or vast rooms.
Remember: Alignment is key! Take your time to adjust the mirror’s angle until the reflected beam perfectly aligns with your original laser line.
Clamping to a Surface
Have a sturdy shelf or table begging for some leveling love? This method is your answer!
- Clamp It Up: Find a clamp that can securely grip the edge of your shelf or table.
- Secure the Laser Level: Attach the laser level to the clamp, ensuring it’s positioned straight. Tighten the clamp to create a firm hold.
- Level Check: Double-check that the shelf or table itself is level before using it as a laser level platform. You can use a traditional level for this purpose.
Hanging Hooks
This method is ideal for overhead projects where you need to level something from the ceiling down. However, prioritize safety above all else!
- First things first – safety! Ensure you’re using a screw strong enough to support the weight of the laser level. Also, make sure the ceiling structure can handle the added weight.
- Select a sturdy screw hook with a suitable weight capacity for your laser level.
- Screw the hook securely into a ceiling joist or another secure location in the ceiling.
- Carefully hang the laser level from the hook, ensuring it’s positioned correctly for your leveling needs.
Pro Tip: Double-check the hook’s placement to ensure the laser beam will fall exactly where you need it. You might need someone to hold the laser level while you adjust the hook’s position.
Double-Sided Tape
For delicate surfaces that can’t handle clamps or magnets, double-sided tape comes to the rescue!
- Clean the surface thoroughly where you plan to place the laser level. Dust, dirt, or any debris will compromise the tape’s adhesive strength.
- Use a strong double-sided tape suitable for the weight of your laser level. Apply the tape according to the manufacturer’s instructions.
- Carefully position the laser level on the double-sided tape, ensuring it’s level and aligned correctly.
Remember, this method is best suited for temporary applications. The adhesive strength of double-sided tape might weaken over time, so be mindful of this limitation.