Lens coatings play a critical role in enhancing the optical performance and durability of your camera lenses. Coatings are designed to minimize reflections, improve color fidelity, and protect the lens surface from scratches and environmental damage. However, even with the utmost care, these coatings can become damaged over time, which can significantly affect the image quality. If you notice a sudden drop in your photo quality, an increase in lens flare, or unusual reflections, it’s time to check for coating damage.
Short Answer: To tell if your lens coating is damaged, look for visible signs like scratches, peeling, or discoloration on the surface. You may also experience reduced contrast, increased flare, or unwanted reflections in your photos.
Now, let’s discuss in detail how to identify lens coating damage, what causes it, and what you can do to address it.
What is Lens Coating?
Lens coating is a thin layer applied to the surface of a lens to improve its optical properties. These coatings come in various forms, such as anti-reflective (AR) coatings, UV coatings, scratch-resistant coatings, and hydrophobic (water-repellent) coatings. They are designed to serve specific purposes:
- Anti-Reflective Coatings: Reduce internal reflections and glare, enhancing contrast and color balance.
- UV Coatings: Protect against harmful ultraviolet rays that can affect image sharpness and cause haziness.
- Scratch-Resistant Coatings: Increase the physical durability of the lens surface, making it more resistant to physical damage.
- Hydrophobic Coatings: Prevent moisture build-up, making the lens easier to clean and ideal for shooting in wet or humid conditions.
Why Lens Coatings Are Important in Photography
Lens coatings are crucial for capturing high-quality images. By reducing unwanted reflections and enhancing contrast, these coatings ensure that your photos have vibrant colors and clarity, even in challenging lighting conditions. For instance, an anti-reflective coating can minimize lens flare when shooting against bright light sources, resulting in clearer, sharper images. In contrast, a lens without proper coating might produce washed-out images with noticeable reflections and color distortions.
Common Misconceptions About Lens Coatings
One of the most common misconceptions is that a damaged coating can be “restored” through cleaning or polishing. Unlike scratches on the glass surface, once a lens coating is damaged, it cannot be restored to its original state. Attempting to “fix” the damage might worsen the situation by further degrading the coating or affecting the lens glass underneath.
Signs of a Damaged Lens Coating
Physical Symptoms
Physical damage to lens coatings is often visible to the naked eye. Look for scratches, tiny pits, peeling, or discoloration. A common method to inspect your lens is to use a flashlight or an LED light in a dark room and shine it onto the lens surface from various angles. Scratches or damage will be more apparent under direct light. Another method is to use a magnifying glass to examine the lens coating closely.
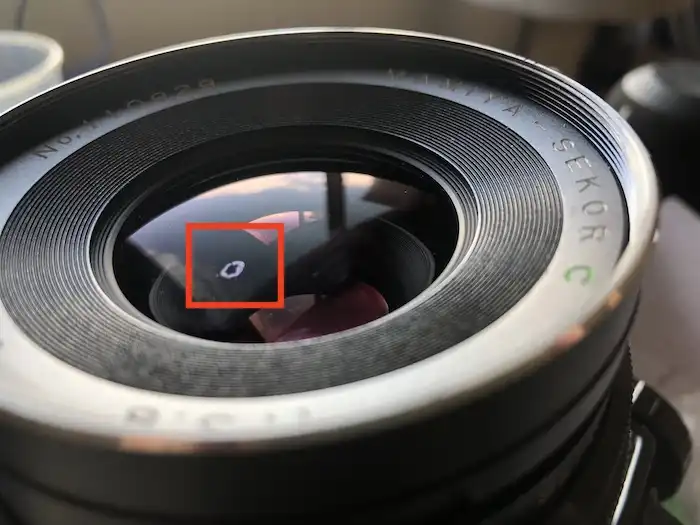
If you notice any irregularities such as a dull appearance, hazy spots, or rainbow-like discoloration, these are strong indicators that the coating is damaged.
Optical Symptoms
Even if the physical damage is not visible, you might still notice a drop in your image quality. Damaged coatings often lead to the following issues:
- Reduced Contrast: The image may appear washed out, with less distinction between light and dark areas.
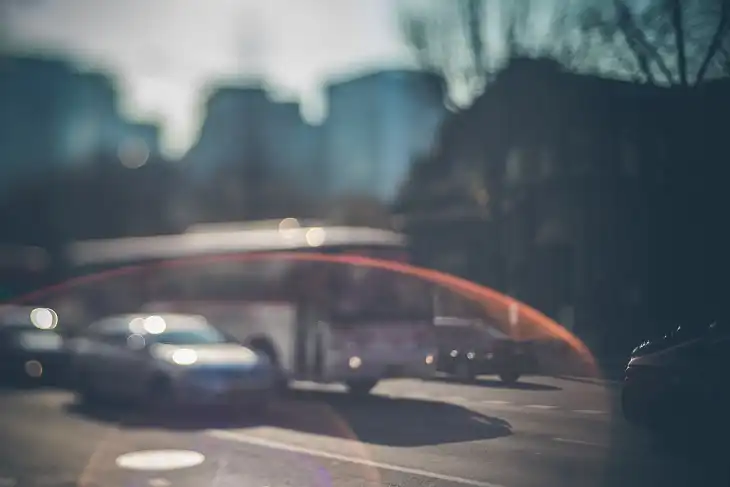
- Increased Lens Flare: A damaged anti-reflective coating can result in unwanted flares and ghosting, especially when shooting against bright light sources.
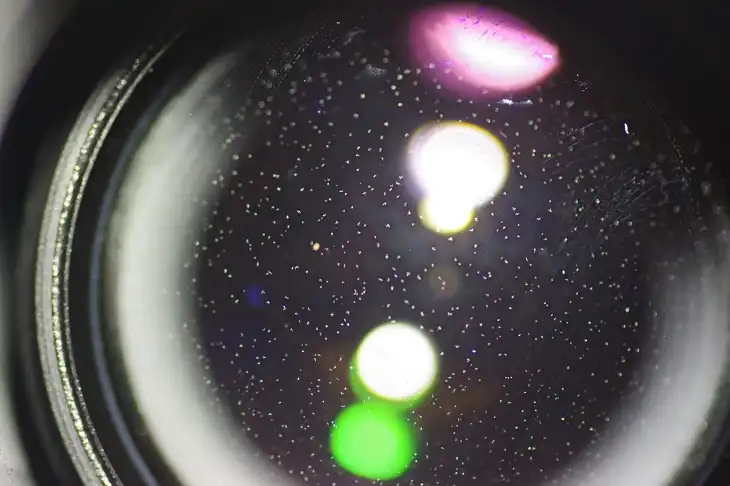
- Unusual Reflections or Haze: If the UV or hydrophobic coatings are compromised, your images might have a milky haze, which affects overall sharpness.
If you have a similar lens in good condition, take side-by-side photos under identical conditions to compare contrast, color, and sharpness.
How to Inspect Lens Coating Damage
To thoroughly inspect your lens, follow these steps:
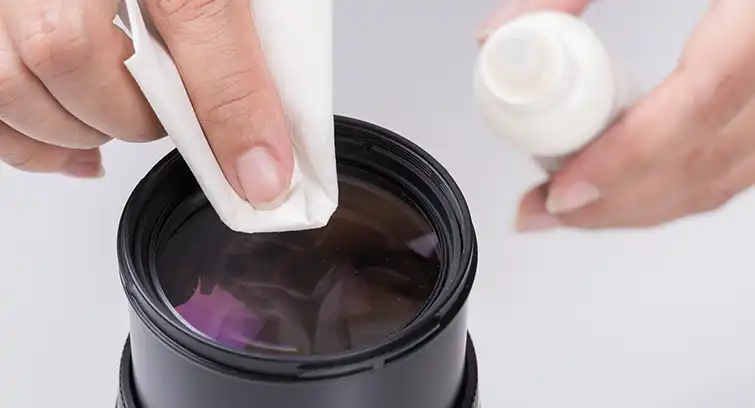
- Clean the Lens Surface Properly using a microfiber cloth and lens cleaning solution. This removes dirt and fingerprints that might obscure the coating.
- Use a Soft Light Source: A small LED flashlight works well. Shine it onto the lens surface from different angles.
- Look for Inconsistencies: Move the lens around slowly and look for spots where light reflections behave differently, indicating damage.
- Inspect Under Different Conditions: Try examining the lens in a dark room, under natural daylight, and even with a magnifying glass for a detailed look.
What Causes Lens Coating Damage
Improper Handling
Touching the lens surface with bare fingers can leave oils and acids that break down coatings over time. Cleaning with abrasive materials or using excessive force can also damage delicate coatings. Always use microfiber cloths and gentle lens cleaning solutions specifically designed for optical glass.
Environmental Factors
Extreme temperatures, humidity, and exposure to dust, sand, or saltwater can degrade lens coatings. For example, saltwater can leave corrosive residues that permanently damage coatings, and fine sand particles can cause micro-abrasions.
Age and Wear
With vintage lenses, coatings can naturally degrade over time. Even the best coatings are not immune to the effects of prolonged exposure to harsh environments. For older lenses, it’s essential to check for coating degradation before use.
Physical Impact
Accidental drops or bumps can result in small cracks or chips in the coating. Once compromised, these damaged areas can spread, especially if subjected to further stress or improper cleaning.
Testing Lens Performance After Coating Damage
To verify whether the damaged coating is affecting your lens’s performance, perform a few simple tests:
- Visual Test: Take sample photos under controlled conditions, such as a bright scene with strong highlights and shadows. Compare the contrast and sharpness with those taken with a lens of the same model (if available).
- Color Fidelity Test: Use a color chart and take photos to see if colors are muted or if there are any unusual tints. Reduced saturation or inconsistent colors may indicate coating degradation.
- Flare and Ghosting Test: Point the lens toward a strong light source and observe the results. If there’s a significant increase in lens flare or ghosting compared to before, the anti-reflective coating may be compromised.
For better analysis, set up a table for comparison of key features:
| Feature | Damaged Coating | Intact Coating |
| Contrast | Low, washed out | High, distinct shadows |
| Lens Flare | Increased, hazy reflections | Minimal, controlled |
| Color Fidelity | Muted, slight discoloration | Vibrant, true-to-life |
Potential Solutions and Remedies for Lens Coating Damage
Professional Repair Options
If the damage is minor, professional cleaning services might help remove residue or debris that is mimicking coating damage. However, if the coating is genuinely damaged, re-coating is generally not a viable option for modern lenses. Depending on the lens value and the severity of the damage, consider whether repair is worth the investment.
Temporary Fixes
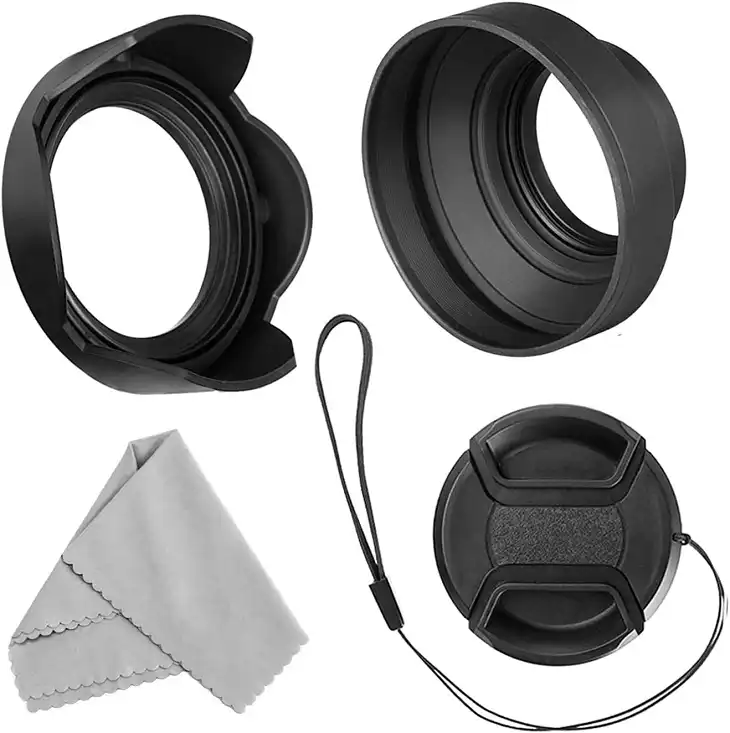
Using a high-quality UV filter can minimize the effects of a damaged coating by acting as a secondary protective layer. Similarly, using a lens hood can reduce unwanted light entering the lens and mitigate the impact of flare.
Precautions to Avoid Further Damage
Handle lenses carefully, store them in padded cases, and always use lens caps when not in use. Avoid exposing the lens to extreme conditions whenever possible.
When to Replace the Lens?
If the damage significantly affects image quality, it might be time to replace the lens, especially if it’s a modern, expensive lens. For vintage or specialty lenses, the cost of replacement might be prohibitive, making repair a better option.
Determine whether the coating damage affects your everyday shooting needs. If you’re a professional, even minor damage can be unacceptable. Hobbyists might tolerate slight degradation if the overall functionality is maintained.
Prevention: Best Practices for Protecting Lens Coatings
Proper Cleaning Techniques
Always use a blower to remove dust, a microfiber cloth for wiping, and lens-specific cleaning solutions. Avoid excessive rubbing or using tissues, which can introduce micro-scratches.
Using Protective Accessories
Invest in a high-quality UV filter to act as a first line of defense. Always use lens caps and store lenses in cases when not in use.
Environmental Awareness
Be mindful of shooting conditions. Avoid exposing lenses to extreme weather or environmental hazards like sand or saltwater.
Wrapping Up
Lens coating damage can have a subtle but significant impact on your photography. By regularly inspecting your lenses, handling them with care, and knowing what signs to look for, you can prolong their lifespan and maintain optimal image quality. For professional photographers, even minor damage might warrant repair or replacement, while casual shooters might find workarounds like filters and hoods effective.