In photography and videography, understanding light is crucial. One of the most challenging aspects of light management is dealing with glare. Glare occurs when a bright light source or reflection overpowers the ambient light in a scene, creating areas of extreme brightness that can affect the quality of your images or footage. For photographers and videographers, mastering the balance between glare and ambient light is essential for creating stunning visuals.
Understanding Light in Photography and Videography
Before we dive into the specifics of glare, it’s important to grasp the basics of light in visual media. Ambient light refers to the natural or existing light in a scene, while artificial light is introduced by the photographer or videographer. The dynamic range of a camera sensor determines how well it can capture details in both bright and dark areas of an image.
Exposure is the amount of light that reaches the camera sensor, and metering helps determine the correct exposure for a scene. These concepts are fundamental to understanding how glare impacts your shots.
Measuring Light in Photography
Photographers use several tools to measure and understand light:
- The Exposure Value (EV) scale quantifies the amount of light in a scene.
- Light meters provide precise measurements of light intensity.
- Histograms display the distribution of tones in an image.
- F-stops represent the amount of light entering the camera through the aperture.
For example, a sunny day might have an EV of 15, while a moonlit night could be around EV -2. This vast difference illustrates the range of light conditions photographers must work with.
Glare Sources in Photography and Videography
Glare can come from various sources:
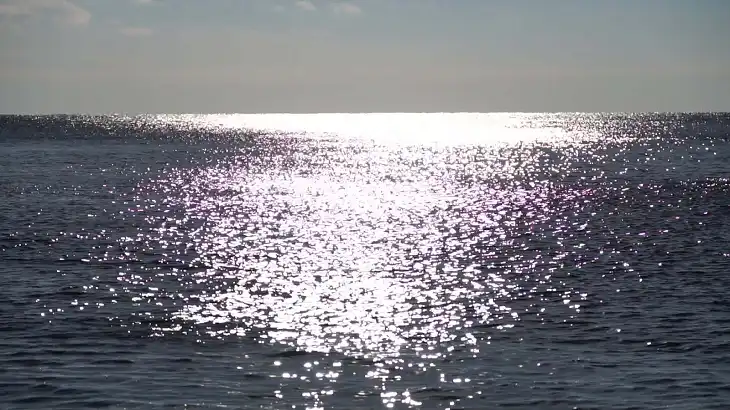
- Natural sources like the sun, especially when reflected off water or snow
- Artificial sources such as studio lights, street lamps, or car headlights
- Unintended reflections from windows, metallic surfaces, or other reflective objects in the scene
Comparing Glare to Ambient Light
The strength of glare compared to ambient light can be substantial. In photography, we often measure this difference in stops. One stop represents a doubling or halving of light intensity. For instance, direct sunlight can be up to 10-15 stops brighter than the surrounding ambient light in a shaded area.
To put this into perspective, consider the following scenario:
| Light Condition | Typical Luminance (cd/m²) |
| Ambient Shade | 1,000 |
| Sunlit Scene | 10,000 |
| Direct Sunlight | 1,600,000 |
As we can see, direct sunlight can be over 1,000 times brighter than ambient light in the shade. This extreme difference poses significant challenges for photographers and videographers.
Types of Glare in Visual Media
Glare manifests in several forms in photography and videography:
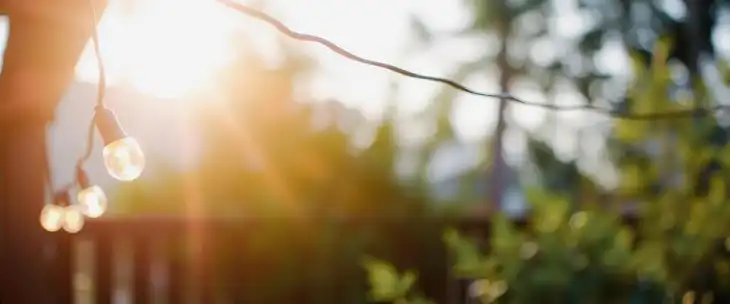
- Lens flare: This occurs when light enters the lens and scatters, creating artifacts in the image.
- Specular highlights: These are the brightest reflections on shiny surfaces.
- Veiling glare: This reduces overall contrast across the image.
- Blooming and smearing: These digital artifacts appear when a sensor is overwhelmed by bright light.
Impact of Strong Glare on Image Quality
Strong glare can significantly affect image quality:
- Loss of detail in highlights: Extremely bright areas may appear as pure white with no discernible detail.
- Color shifts: Glare can cause unnatural color casts in affected areas.
- Reduced contrast: Overall image contrast may suffer, making the photo appear flat.
- Potential sensor damage: In extreme cases, very strong light sources can damage camera sensors.
Techniques for Managing Glare
Photographers and videographers employ various techniques to manage glare. For example, you can use lens hoods and flags to block unwanted light from entering the lens. You can also use polarizing filters to reduce reflections and glare, especially on non-metallic surfaces.
To decrease the overall light entering the camera, you can use neutral density filters. Another trick is to use the HDR techniques and exposure bracketing to capture multiple exposures to balance high-contrast scenes. Remember, careful positioning and timing can help control natural light sources like the sun.
Post-Processing Techniques for Glare Control
In post-processing, several methods can help manage glare. For example, you can recover highlight details using RAW file data. You can also use unwanted lens flare with cloning and healing tools. Another trick is to balance exposure in high-contrast scenes through selective adjustments
Modern software like Adobe Lightroom and Capture One offer powerful tools for addressing glare-related issues in post-production.
Wrapping Up
Understanding and managing the relationship between glare and ambient light is a critical skill for photographers and videographers. While glare can be challenging, it also offers creative opportunities when used intentionally. As technology advances, our ability to control and utilize glare in visual media continues to improve, opening up new possibilities for creative expression.
Key takeaways:
- Glare can be up to 1,000 times stronger than ambient light in extreme cases.
- Both technical skills and creative vision are necessary to effectively manage glare.
- Advances in technology are making it easier to handle high-contrast scenes.
By mastering the balance between glare and ambient light, photographers and videographers can elevate their work to new levels of quality and artistic expression.