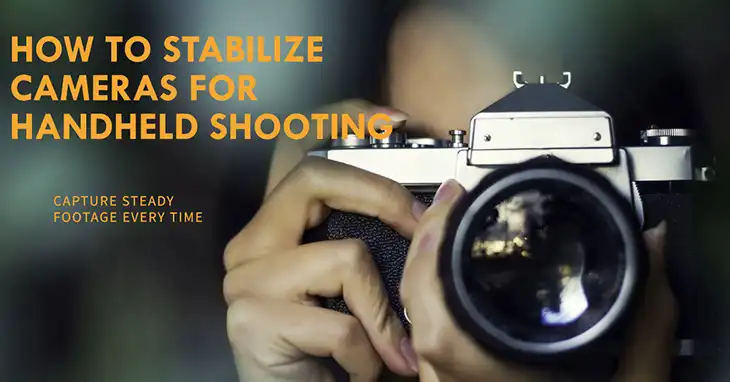
Shooting handheld video can be a real challenge, am I right? Even the tiniest shake can make your footage look unprofessional. It’s frustrating, especially when you’re capturing spontaneous moments and can’t use a tripod.
But don’t worry, I’ve got your back! In this article, I’ll share practical tips and tricks to help stabilize your camera while shooting handheld. We’ll cover everything from body techniques to equipment choices and shooting strategies.
Whether you’re a pro or just starting out, mastering camera stabilization is a game-changer. Get ready to take your handheld shots to the next level and capture buttery-smooth, cinematic footage!
Body and Posture Techniques
Proper body positioning and posture are crucial for achieving stable handheld shots. This section covers various techniques to help you brace and support your camera using your body.
Two-Handed Grip To Hold The Camera For Maximum Stability
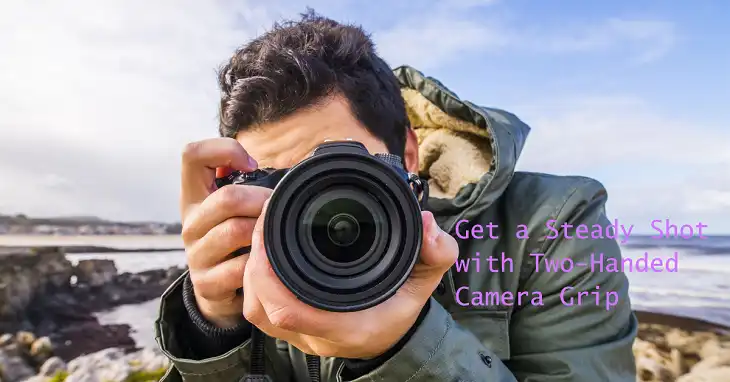
Proper hand positioning is crucial for stabilizing your camera during handheld shooting. The two-handed grip is a tried-and-true method that provides maximum stability and control. Start by gripping the camera body with your non-dominant hand, making sure your elbow is tucked close to your body for added support. Then, use your dominant hand to hold the lens or camera grip, keeping your elbows close together and your arms relaxed but firm.
If you’re using a heavier camera or lens setup, consider engaging your core muscles for added stability. This will help distribute the weight evenly across your body and minimize camera shake. Let’s consider two photo capturing scenarios and techniques to follow there –
Portrait Mode: When shooting in portrait mode (holding the camera vertically), mimic the same secure grip but adjust your hand placement for better balance. Let your dominant hand cradle the bottom of the camera for added support, while your other hand rests comfortably near the lens barrel or touchscreen.
Low-Angle Shots: For those dramatic low-angle shots, bend down from your knees while keeping your core engaged. This lowers your center of gravity, providing a more stable base for the camera.
Body as a Support
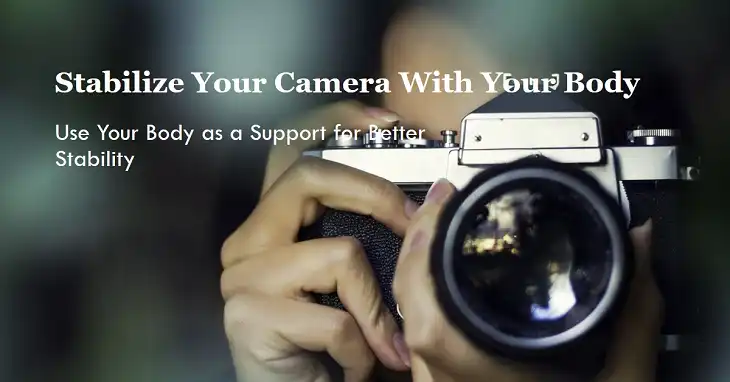
In addition to proper hand positioning, using your body as a support can significantly improve camera stability. One effective technique is to tuck your elbows into your sides or lean against a wall or stable surface. This provides a solid foundation for your camera and helps minimize unwanted movements.
Another useful method is to lower your center of gravity by bending your knees slightly or even squatting down. This will help you maintain balance and stability, especially when shooting in challenging environments or during dynamic movements.
Footwork For Smooth Pans And Tilts
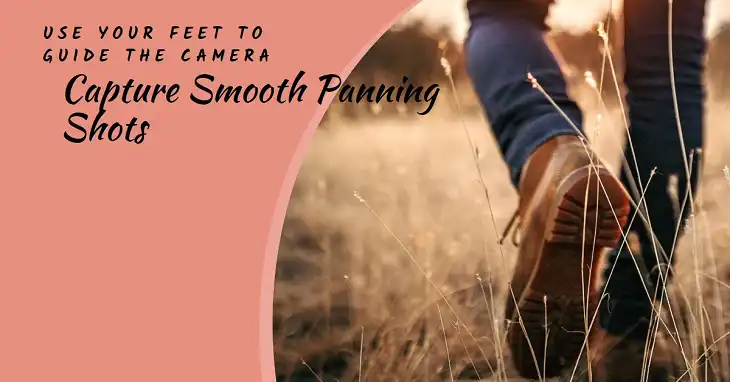
When executing pans or tilts, proper footwork is essential for achieving smooth, shake-free movements. Instead of pivoting or twisting your upper body, use your feet to guide the camera’s movement. Take small, controlled steps in the direction you want to pan, keeping your upper body relatively still.
For tilts, bend at the knees and use your leg muscles to control the up-and-down motion. Avoid leaning back or forward with your upper body, as this can introduce an unwanted camera shake. With practice, you’ll develop a smooth, fluid motion that will elevate your handheld shooting.
Camera Techniques
In addition to proper body positioning, certain camera techniques can help you achieve more stable handheld footage.
Using Camera Straps Effectively
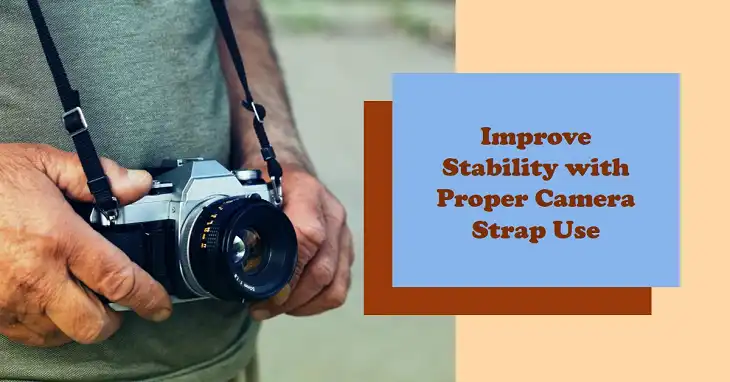
While often overlooked, camera straps can play a crucial role in stabilizing your handheld shots. By properly adjusting and using your camera’s strap, you can reduce camera shake and improve overall stability.
Start by adjusting the strap length so that the camera rests comfortably against your body when not in use. This will help dampen any inadvertent movements and keep the camera secure. During shooting, use the strap to brace the camera against your body or even wrap it around your wrist for added stability.
Additionally, consider investing in a specialized stabilizing strap or harness system designed specifically for handheld shooting. These products offer additional support and counterbalance, making it easier to maintain a steady grip on your camera for extended periods.
Understanding and Using Image Stabilization Features
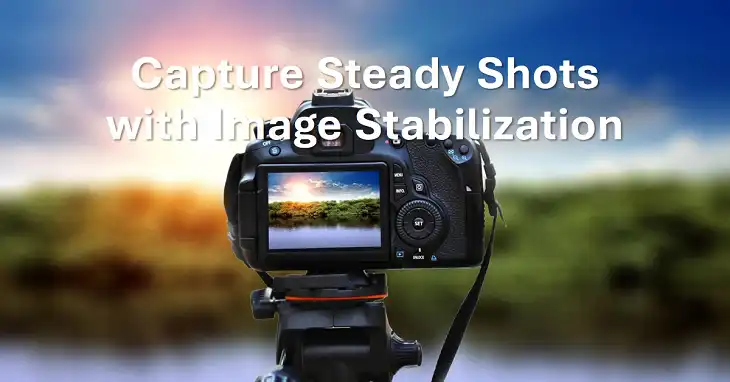
Modern cameras often come equipped with built-in image stabilization features that can help compensate for camera shake. These systems use advanced sensors and actuators to detect and counteract unwanted movements, resulting in smoother, more stable footage.
Before shooting, familiarize yourself with your camera’s specific stabilization settings and modes. Some cameras offer multiple stabilization modes optimized for different shooting scenarios, such as handheld shooting, panning, or tripod use. Selecting the appropriate mode can significantly improve the effectiveness of the stabilization system.
It’s important to note, however, that while image stabilization can be a valuable tool, it should be used in conjunction with proper handheld shooting techniques. Relying solely on stabilization features may not be sufficient for achieving truly professional-looking footage.
Shooting Techniques
Employing the right shooting techniques can make a significant difference in the stability and smoothness of your handheld footage.
Breathing Control for Steady Shots

Believe it or not, your breathing can have a significant impact on the steadiness of your handheld shots. When holding your breath, even for a short period, your body naturally tenses up, introducing unwanted camera movements.
To combat this, practice breathing control while shooting. Take a deep breath before each shot, and exhale slowly and steadily as you record. This will help keep your body relaxed and minimize unwanted movements caused by tensing up.
Additionally, try to time your shots between breaths for added stability. This technique takes practice, but once mastered, it can greatly improve the smoothness of your handheld footage.
Planning and Shot Framing to Minimize Unnecessary Camera Movements
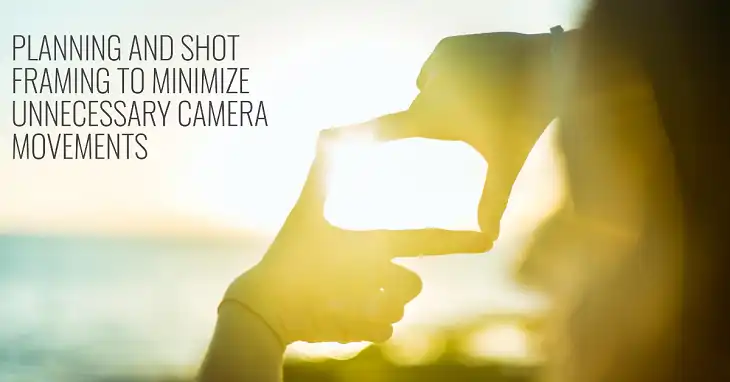
Careful planning and shot framing can also help minimize camera shake and unnecessary movements during handheld shooting. Before rolling, take a moment to visualize the shot and plan out any pans, tilts, or movements you’ll need to execute.
When framing your shot, try to keep the camera as still as possible, and only introduce movement when necessary. Avoid excessive zooming, panning, or tilting, as these actions can amplify any camera shake and make your footage appear jumpy or unstable.
If you need to reframe or adjust your shot, do so deliberately and smoothly, using the stabilization techniques you’ve learned. By minimizing unnecessary camera movements, you’ll ensure smoother, more professional-looking footage.
Advanced Techniques: Shot Panning, Push/Pull Shots, Etc.
As you gain experience and confidence in handheld shooting, you may want to explore more advanced techniques, such as smooth panning shots, push/pull shots, or even dynamic camera movements like whip pans or camera spins.
These techniques require a high level of control and mastery of camera stabilization methods. They often involve combining multiple stabilization techniques, such as proper body positioning, breathing control, and smooth footwork.
Shot Panning: For smooth pans, pivot at the hips, keeping your upper body and elbows locked in tight. Imagine you’re turning your entire body, not just moving your arms.
Push/Pull Shots: These involve slowly moving the camera towards or away from the subject. The key here is slow and steady movement. Use a tripod base (even an improvised one like a stack of books) as a starting point, and slowly push or pull the camera along the base while recording.
Equipment Options
While proper techniques are essential for stabilizing handheld shots, the right equipment can also make a significant difference.
Tripods: Types, Choosing the Right Tripod for Handheld Stabilization, And Limitations

While this article primarily focuses on handheld stabilization techniques, tripods can also be a valuable tool for achieving steady shots, particularly in controlled environments or when shooting static scenes.
When choosing a tripod for handheld stabilization, consider factors such as weight, height adjustability, and ease of setup. Lightweight and compact tripods can be particularly useful, as they can be easily carried and deployed in various shooting situations.
However, it’s important to note that tripods have limitations when it comes to dynamic handheld shooting. They are best suited for static or slow-moving shots, as they cannot fully compensate for more rapid camera movements or changes in direction.
Handheld Gimbals: Types, Features, and Considerations
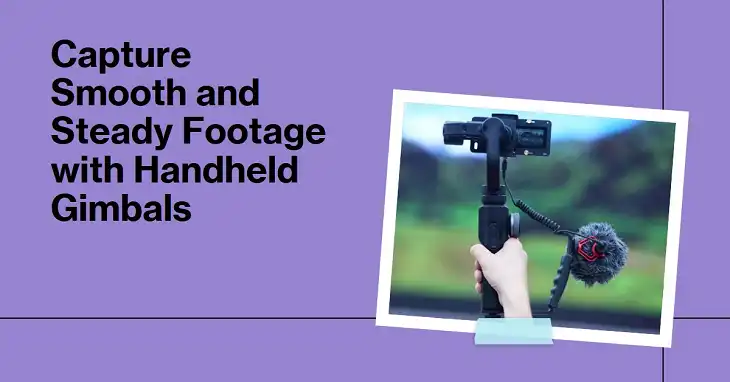
For serious handheld videographers and filmmakers, investing in a handheld gimbal can be a game-changer. These specialized stabilization devices use advanced motors and sensors to counteract camera shakes and movements, resulting in incredibly smooth and stable footage.
There are various types of handheld gimbals available, ranging from compact single-handed models to larger, more robust dual-handed systems. When choosing a gimbal, consider factors such as payload capacity (the maximum weight it can support), battery life, and compatibility with your camera and lenses.
While gimbals can be a significant investment, they offer unparalleled stabilization capabilities and allow for dynamic camera movements that would be nearly impossible to achieve with handheld techniques alone.
Additional Tips
Here are some additional tips to help you achieve even smoother and more stable handheld footage.
Shutter Speed And Its Role In Reducing Camera Shake
While often overlooked, shutter speed plays a crucial role in reducing the appearance of camera shake in your footage. Faster shutter speeds can effectively “freeze” motion, minimizing the visible effects of camera movements and vibrations.
As a general rule, try to use a shutter speed that is at least double your frame rate. For example, if shooting at 24 frames per second (fps), use a shutter speed of 1/50th or faster. This will help ensure crisp, blur-free footage, even with minor camera shake.
However, it’s important to note that using excessively fast shutter speeds can introduce other issues, such as choppy motion or a stroboscopic effect. Finding the right balance between shutter speed and frame rate is key to achieving smooth, natural-looking footage.
Post-Processing Techniques For Stabilizing Shaky Footage
In some cases, even with your best efforts, you may end up with shaky or unstable footage. Fortunately, modern video editing software offers powerful stabilization tools that can help smooth out camera movements and reduce the appearance of shake.
These post-processing techniques typically involve analyzing the footage and applying digital stabilization filters or algorithms to counteract unwanted movements. While effective, it’s important to note that these tools have limitations and can introduce undesirable artifacts or distortions, especially when dealing with extreme camera shake.
Additionally, digital stabilization can crop or scale the footage, potentially impacting framing and composition. As such, it’s generally recommended to prioritize proper stabilization techniques during shooting whenever possible and to use post-processing stabilization tools as a last resort or for minor adjustments.
Outro
Achieving rock-solid handheld camera stabilization is an ongoing journey, but one that’s incredibly rewarding. By incorporating the tips and techniques we covered, you’ll notice a massive improvement in the smoothness and professionalism of your footage.
Don’t get discouraged if it takes some practice, though. Every shooter has their own style and preferences, so embrace the versatility of camera stabilization methods. Experiment, have fun, and find what resonates best with you.
If any part of the article left you scratching your head, no sweat! Drop a comment below, and I’ll be more than happy to clarify or provide additional insights. We’re all in this together, constantly learning and growing as filmmakers and videographers.