Whether you’re capturing breathtaking landscapes, intricate portraits, or dynamic sports scenes, a correctly positioned tripod ensures your shots are sharp, your framing is precise, and your work looks professional. The process of leveling and positioning a tripod may seem simple, but it requires careful attention to detail. In this article, we’ll walk you through every step, ensuring you have the knowledge to set up your tripod with confidence.
Step 1: Choose the Right Location
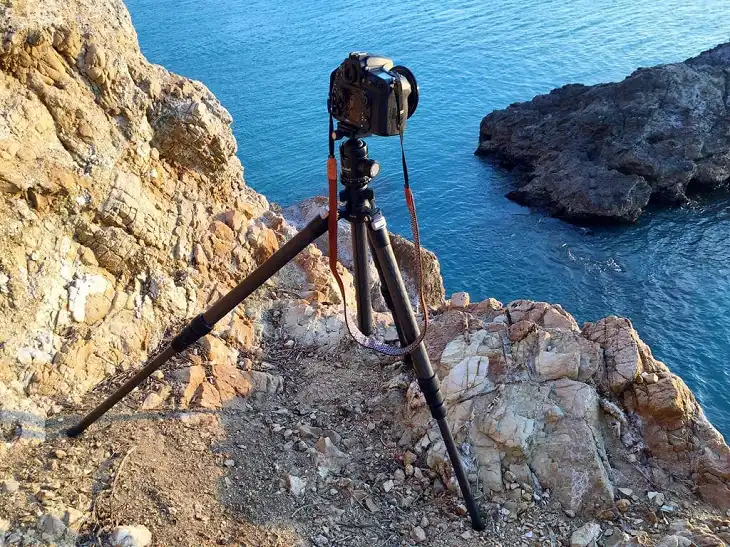
The first step towards a perfectly leveled tripod is to choose the right location to set it up. The terrain on which you place your tripod can significantly affect its stability.
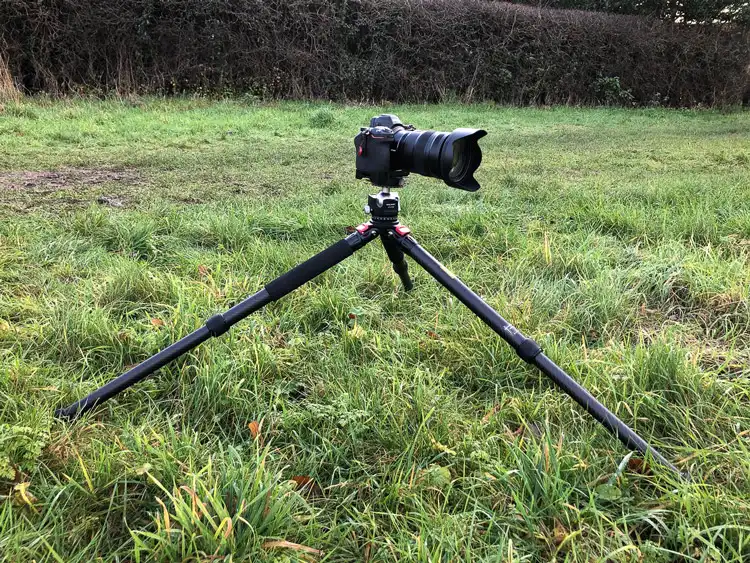
Start by assessing the terrain. A solid, flat surface is ideal. Soft surfaces like sand or grass require particular attention because the tripod’s feet can sink. In such cases, using wider leg angles and ensuring the feet are firmly planted can help prevent tipping.
Consider the subject and composition of your shot. The position of the tripod should allow for optimal framing of the subject, with minimal adjustments needed after the tripod is in place.
If you’re shooting in challenging conditions, such as on a windy day or in a crowded area, additional measures might be needed to secure your tripod. You can weigh it down with a bag or other heavy objects to prevent it from tipping over.
Step 2: Extend and Position the Tripod Legs
When you’ve found the perfect spot, it’s time to extend the tripod legs and position them correctly. This step is crucial for ensuring your tripod is stable and your camera is secure.
Begin by unlocking the legs. Extend the legs one section at a time, starting with the thicker sections at the top. This helps maintain stability, as the thicker sections are sturdier. Once you’ve extended the legs to the desired length, lock them securely to prevent any slippage during use.
Adjust the leg length to compensate for uneven surfaces. For example, if you’re on a slope, you may need to shorten one leg to ensure the tripod is level. The goal is to achieve a stable base with the center column perpendicular to the ground.
Step 3: Set the Initial Height
The height at which you set your tripod is another important consideration, as it impacts both the ergonomics for the photographer and the composition of the shot.
When determining the height, consider the subject of your photo or video. For instance, if you’re shooting a landscape, you might want the camera at eye level to capture the scene as you see it. For macro photography, a lower height might be necessary to get close to your subject. Adjust the legs first to achieve the desired height, using the center column sparingly. While raising the center column can give you extra height, it also reduces stability because it shifts the center of gravity upwards.
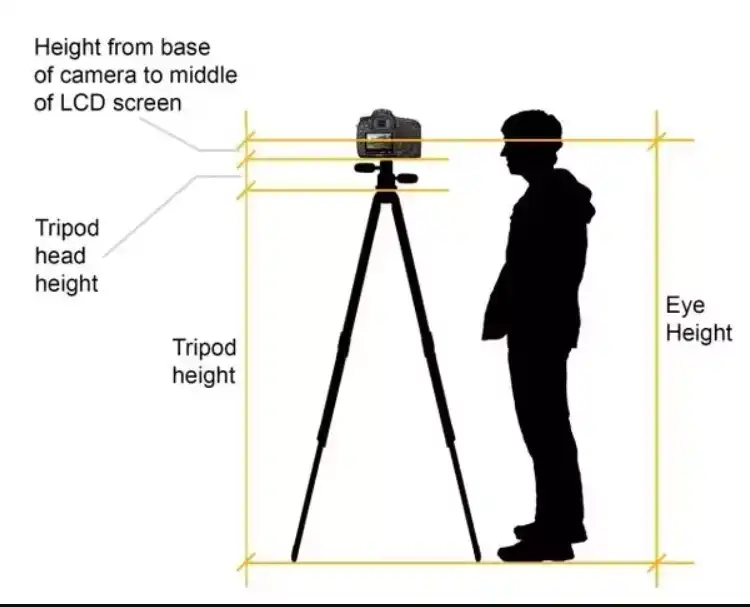
Image: Ideal tripod height
Ergonomics are also important. The height of the tripod should allow you to operate the camera comfortably without straining your back or neck. If you find yourself constantly bending over or reaching up, consider adjusting the height or your stance.
Step 4: Level the Tripod
Once you’ve positioned the tripod at the right height, the next crucial step is to level it.
Most tripods come with a built-in bubble level, usually located on the tripod head or base. To level the tripod, start by checking the bubble level. If the bubble is centered, your tripod is level. If not, you’ll need to adjust the leg lengths until the bubble is centered. This might involve raising or lowering individual legs slightly to achieve a perfect level.
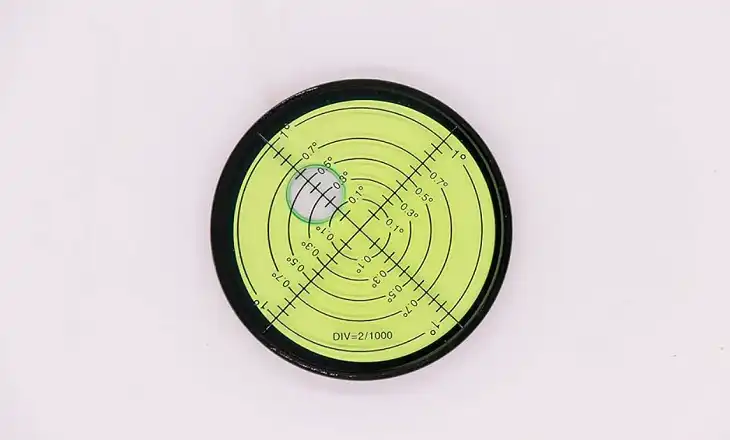
If your tripod doesn’t have a bubble level, or if you want more precision, you can use a smartphone app designed for leveling. These apps use your phone’s accelerometer to measure angles and can be placed on the tripod head or camera to ensure accuracy.
Step 5: Fine-Tune the Position
With your tripod leveled, it’s time to fine-tune its position.
Start by checking the tripod’s stance. A narrow stance, where the legs are closer together, is usually sufficient on flat, stable surfaces. However, if you’re on uneven terrain or in windy conditions, spreading the legs wider can increase stability. The wider stance lowers the tripod’s center of gravity, making it less likely to tip over.
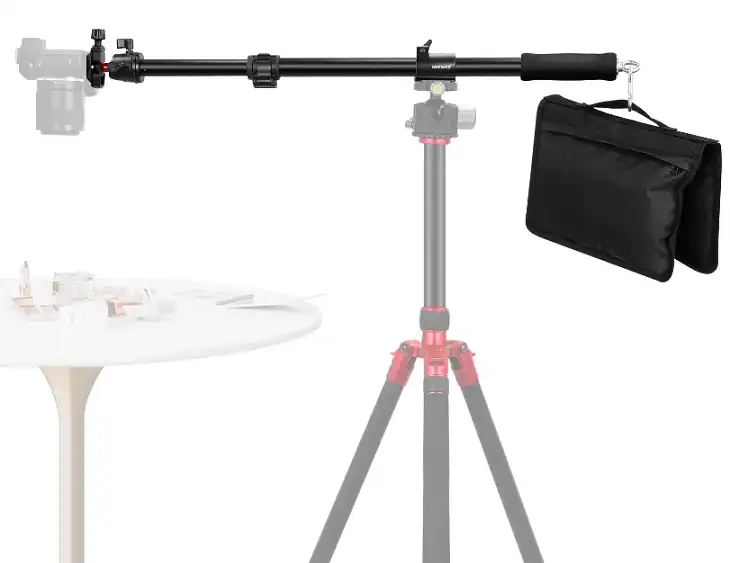
Consider the camera’s center of gravity as well. If you’re using a heavy lens, especially a telephoto lens, the tripod head might become top-heavy, which could lead to instability. In such cases, you can use a counterweight, such as a sandbag, attached to the center column to balance the setup.
How to Attach and Level the Camera Properly
Now that your tripod is positioned and leveled, it’s time to attach your camera. Proper mounting is essential to prevent accidental drops and ensure that your camera remains secure during shooting.
Begin by attaching the quick-release plate to your camera. This plate should be screwed tightly into the camera’s tripod mount, usually located on the bottom of the camera body. Once the plate is attached, slide it into the tripod head’s quick-release mechanism and lock it in place. Make sure the camera is securely fastened and that there’s no wobble or movement.
Next, check the camera’s level. Many cameras come with a built-in electronic level or a hot shoe level that you can use to ensure the camera is perfectly horizontal. If your camera lacks these features, you can use a small, portable spirit level that attaches to the camera’s hot shoe. Adjust the tripod head as needed to achieve a perfect level.
If you’re using a telephoto lens, consider using a tripod collar. This collar attaches to the lens rather than the camera body, distributing the weight more evenly and reducing strain on the tripod head.
Bottom Line
Mastering the art of leveling and positioning a tripod is an essential skill for any photographer or videographer. From understanding the components of your tripod to choosing the right location, setting the initial height, and fine-tuning the position, every step plays a crucial role in ensuring your camera is stable and your shots are sharp. Avoiding camera shake, maintaining your tripod, and troubleshooting common issues are equally important for achieving professional results.