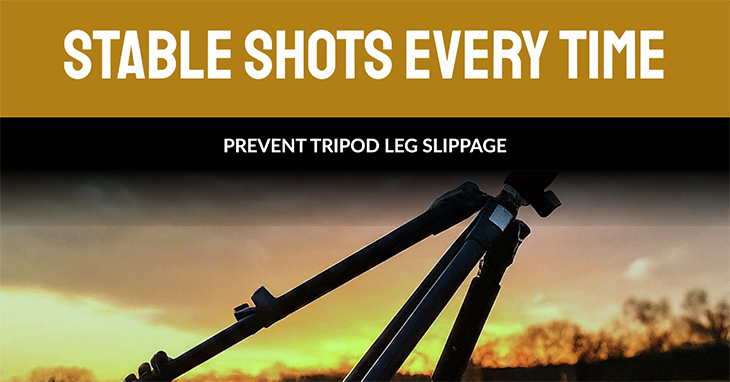
As a photographer or videographer, I know how frustrating it can be when my tripod legs unexpectedly slip, causing my camera to tilt or topple over. Not only does it ruin the shot, but it also puts my expensive gear at risk. That’s why I’ve made it a priority to learn and implement effective ways to prevent tripod leg slippage.
Through careful research and personal experience, I’ve discovered various techniques and accessories that can help keep my tripod legs securely in place, no matter the shooting conditions.
In this guide, I’ll share my knowledge and insights, covering everything from tightening screws and locks to using anti-slip feet and sandbags. My goal is to help you enjoy a more stable and reliable tripod setup, allowing you to focus on capturing those perfect shots.

Ways to Prevent Tripod Leg from Slippage
Tripod leg slippage can be incredibly frustrating, especially when you’ve carefully set up your gear for the perfect shot. Not only can it lead to missed opportunities, but it can also put your expensive camera equipment at risk. There are several approaches you can take to prevent your tripod legs from slipping. Let’s explore some of the most effective methods:
Tighten the Screws
This might seem like a no-brainer, but it’s worth mentioning nonetheless. The most common cause of tripod leg slippage is simply loose screws. Over time, with constant adjustments and vibrations, these crucial fasteners can loosen. Make a habit of checking the tightness of the screws on your tripod legs before every shoot.
Most tripods come with user manuals or instructions from the manufacturer that specify the recommended tightness levels. Consult these guidelines for optimal results. For tripods with thumbscrews or wingnuts, ensure they’re snug but not overtightened. If a thumbscrew or wingnut feels worn out or damaged, consider replacing it with a new one to improve grip.
For added friction and slip prevention, you can try placing a washer or a rubber band between the screw and the leg. Just be sure the added material doesn’t interfere with the smooth operation of the leg locking mechanism.
Tighten the Locks
Most tripods have locking mechanisms at each leg joint for extending and retracting them. These locks, often referred to as “flip locks” or “twist locks,” prevent the legs from collapsing unintentionally.
If your tripod leg seems to be slipping even when the screws are tight, the issue might lie with the lock itself. Over time, locks can become loose or misaligned due to wear and tear. The solution involves adjusting the tension or the position of the lock mechanism.
Some locks have built-in tension adjusters, while others might require you to tighten or loosen the screws or bolts holding the lock in place using a screwdriver or a hex key. Consult your user manual for specific instructions on adjusting your tripod’s locks.
Another potential culprit for instability could be a loose or wobbly ball head or pan-tilt head (the part connecting your camera to the tripod). Try cleaning and lubricating the head with a microfiber cloth and a small amount of camera-safe oil or silicon lubricant. Additionally, ensure the head is securely attached to the tripod by tightening any screws or bolts that might have loosened.
Use Anti-Slip Feet
Tripod legs typically have rubber or plastic feet for traction. While these work well on most surfaces, they might struggle on particularly slippery terrain like ice, wet rocks, or smooth floors. For extra grip, consider investing in a set of anti-slip tripod feet.
These specialized feet come in various materials like spiked metal or textured rubber, providing superior traction on challenging surfaces. They’re relatively inexpensive and can be easily attached to your existing tripod legs, offering a simple solution for enhanced stability.
Use Sandbags
Sandbags are incredibly versatile tools for photographers. Not only are they excellent for adding weight and stability to light stands and booms, but they can also be incredibly effective in preventing tripod leg slippage.
Here’s how it works: Fill empty sandbags (or even sturdy cloth bags) with sand, gravel, or any other weight-adding material. Then, drape these weighted bags over the bottom sections of your tripod legs. The additional weight will help keep your tripod grounded, especially in windy conditions or on uneven terrain.
Sandbags are particularly useful for outdoor photography, where unpredictable weather or uneven ground can pose challenges. They’re also a great option for long exposure photography, where even minor vibrations can ruin the shot.
Level the Tripod
While not directly related to preventing leg slippage, leveling your tripod plays a crucial role in overall stability. An unevenly leveled tripod can put undue stress on the locking mechanisms and leg joints, potentially leading to slippage.
Use a spirit level (either built-in or a separate one) to ensure your tripod is perfectly level on all sides. Many tripods have built-in bubble levels on the center column, which can be helpful for initial leveling.
Once the tripod is level, adjust the leg extensions to achieve the desired camera height while maintaining a balanced and stable platform. A properly leveled tripod will distribute the weight of your camera and equipment evenly and it will help to prevent slippage.
Wrapping Up
Preventing tripod leg slippage is essential for capturing sharp, blur-free images and videos while protecting my valuable equipment. By following the tips and techniques outlined in this guide, I’ve significantly reduced the risk of leg slippage and gained peace of mind during my shoots.
Remember, a little preventive maintenance and the right accessories can go a long way in ensuring your tripod remains steady and reliable. Don’t hesitate to invest in high-quality parts and accessories – they’re worth it for the consistent results they provide.
